

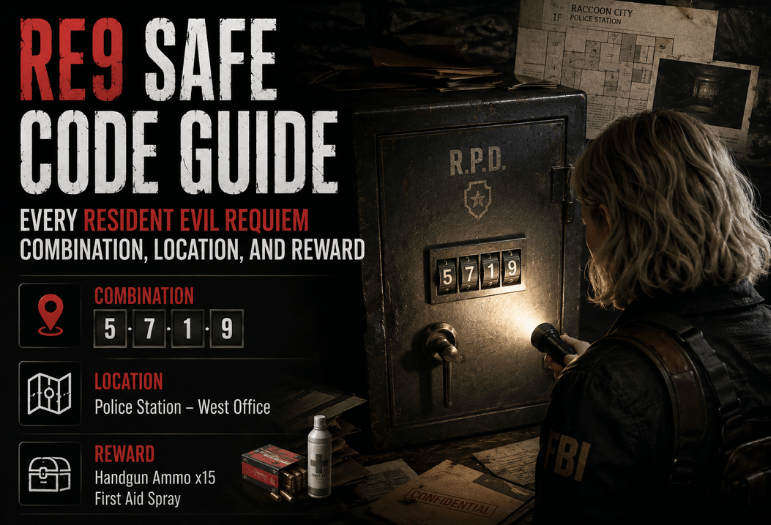
If you searched for the RE9 safe code, the fastest answer is that Resident Evil Requiem has five code-locked safes. Casual and Standard use one set of combinations, while Insanity changes every locked-safe combination. You can enter the combinations without collecting their clue files first.
Direct answer: There are five code-locked safes in Resident Evil Requiem. Casual and Standard share the same five combinations, while Insanity changes all five. Direction matters at every number. The five locked safes appear during Grace’s sections, and opening all of them completes the No Safe Is Safe trophy or achievement requirement.
All RE9 Safe Code Combinations at a Glance
The table below gives you the combinations you need without forcing you to hunt through every clue file first. Multiple current walkthroughs agree on these five Standard and Insanity solutions.
| Safe | Area | Casual / Standard | Insanity | Main Reward |
| Bar & Lounge | Rhodes Hill Care Center | Left 10, Right 80, Left 30 | Right 20, Left 50, Right 30 | 3 Antique Coins |
| Examination Room | Rhodes Hill Care Center | Right 30, Left 10, Right 50 | Left 50, Right 30, Left 90 | 3 Antique Coins |
| Basement / Furnace | Rhodes Hill basement | Right 60, Left 40, Right 80 | Left 70, Right 50, Left 20 | Raccoon Roundup Map and handgun ammo |
| Sterilization Chamber | ARK | Right 10, Left 90, Right 20 | Left 80, Right 50, Left 0 | Molotov, handgun ammo, Med Injector |
| Monitor Control Room | ARK | Left 50, Right 60, Left 80 | Right 20, Left 0, Right 70 | Bottle of Acid, Med Injector, Empty Bottle |
One detail causes confusion in competing guides. Resident Evil Requiem also has a safe in the Waiting Room that is already open. It requires no combination and contains Antique Coins. That is why you may see some pages describe six physical safes while trophy guides list only five locked safes.
Key Takeaways
- Casual and Standard use the same combinations.
- Insanity changes the combinations for all five locked safes.
- You don’t need to read the related clue files before entering a known combination.
- Left and right turns matter just as much as the numbers.
- The locked safes appear during Grace’s gameplay sections.
- Keep manual saves because missing a safe may require loading an older save or starting another playthrough.
How to Enter a Safe Combination Correctly
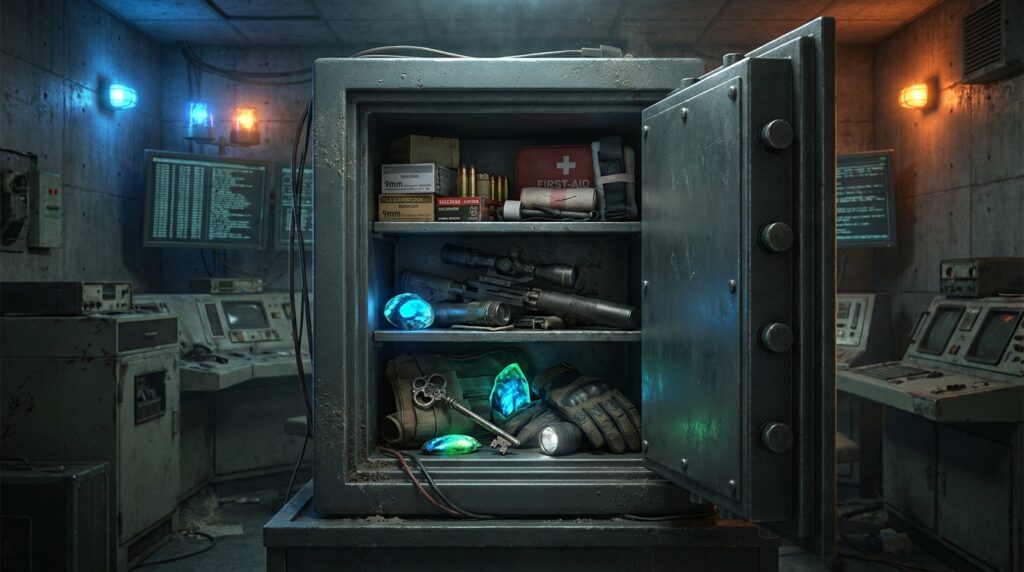
Resident Evil Requiem uses directional dial combinations. A sequence such as Left 10, Right 80, Left 30 means you must reach each number while turning the dial in the stated direction.
- Interact with the safe and begin from the dial’s current position.
- Turn in the first stated direction until you reach the first number.
- Reverse direction and stop at the second number.
- Reverse direction again and stop at the final number.
- Confirm the combination to open the safe.
If the lock resets, check both the numbers and the turn directions. Entering the correct numbers with the wrong left/right sequence won’t solve the lock.
Where to Find Every Locked Safe
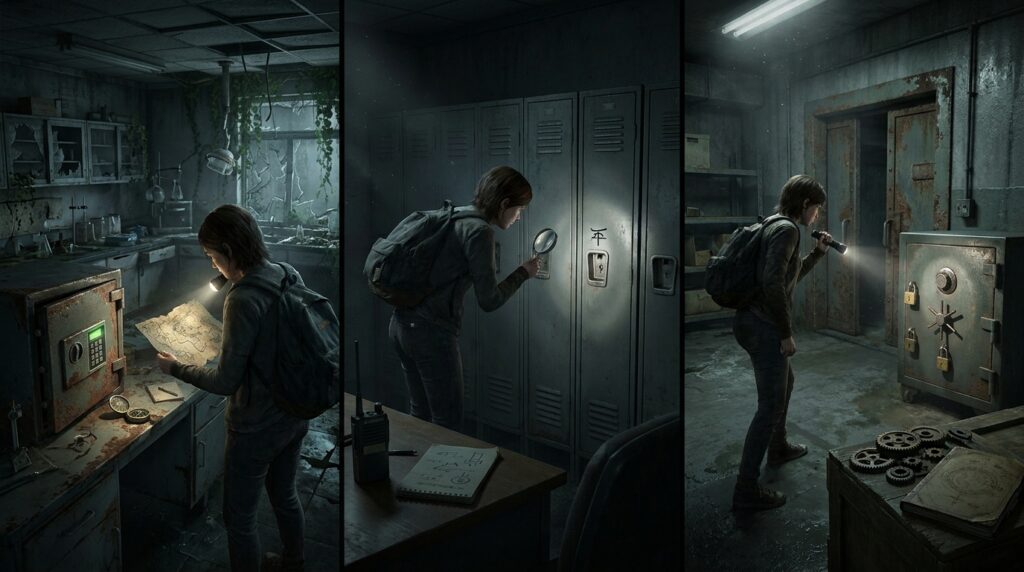
Bar & Lounge
The Bar & Lounge safe is behind the bar in the Rhodes Hill Care Center. It is one of the first combination safes you can reach during Grace’s sections. On Casual or Standard, use Left 10, Right 80, Left 30. On Insanity, use Right 20, Left 50, Right 30. Opening the safe gives you three Antique Coins.
That Insanity combination is worth checking carefully. One prominent guide repeats the normal Insanity combination, but several dedicated walkthroughs agree on Right 20, Left 50, Right 30.
Examination Room
You reach the Examination Room after progressing into the east side of the Care Center. Look inside the room for a safe positioned in a cabinet near the examination area.
Use Right 30, Left 10, Right 50 on Casual or Standard. On Insanity, enter Left 50, Right 30, Left 90. The safe contains three Antique Coins. These early coins make both Care Center safes worth opening before you progress deeper into the story.
Basement / Furnace
The next combination safe appears in the Care Center basement around the Furnace and Workshop section. Guides describe it as being located in a side office near the forklift area.
Enter Right 60, Left 40, Right 80 on Casual or Standard. Insanity changes the combination to Left 70, Right 50, Left 20. The reward includes the Rhodes Hill Raccoon Roundup Map and handgun ammo.
The map is useful if you’re cleaning up Mr. Raccoon collectibles before moving on.
Sterilization Chamber
Two of the five locked safes are inside the late-game ARK facility. The first is located in the Sterilization Chamber during Grace’s section of the area.
Casual and Standard players need Right 10, Left 90, Right 20. On Insanity, use Left 80, Right 50, Left 0. The safe contains a Molotov, handgun ammo, and a Med Injector.
For the exact route, clue-file locations, and ARK-specific tips, Gamerlume has a dedicated ARK safe guide.
Monitor Control Room
The final locked safe is located in the ARK’s Monitor Control Room. You need the Magnetic Key before you can reach the room through the relevant locked door.
Use Left 50, Right 60, Left 80 on Casual or Standard. Insanity changes the sequence to Right 20, Left 0, Right 70. Inside, you’ll find a Bottle of Acid, a Med Injector, and an Empty Bottle.
If you need the route from the typewriter and red-floored lobby, see Gamerlume’s Monitor Control Room safe walkthrough.
Standard vs. Insanity Safe Codes
Insanity doesn’t merely make enemies tougher. It also changes these safe combinations, so memorizing the numbers from your first playthrough isn’t enough.
The locations remain the same, but you must use the Insanity combinations whenever you’re playing on that difficulty. The Bar & Lounge difference deserves extra attention because conflicting information remains online. The other four Insanity combinations are consistent across several major walkthroughs.
Do You Need the Safe-Code Files First?
No. The combination files explain the intended solutions, but the game does not require you to collect a file before entering its code. That means you can open a safe as soon as you reach it if you already know the correct combination. Finding the documents can still help if you prefer solving puzzles through normal exploration.
How Many Safes Are in Resident Evil Requiem?
For combination-code purposes, there are five locked safes. These are the Bar & Lounge, Examination Room, Basement, Sterilization Chamber, and Monitor Control Room safes.
A separate safe in the Waiting Room is already open. Some guides include that container when describing six physical safes, while trophy-focused guides count only the five safes that require combinations. This distinction explains why guide totals sometimes appear inconsistent.
Can You Miss the Safes?
Yes. The locked safes are tied to Grace’s sections, and trophy guides warn that the game doesn’t have chapter select for easy cleanup. Keeping manual saves around major areas gives you a safer recovery point if you move forward without opening one.
Before leaving Rhodes Hill or the ARK, check the table once more. A 30-second check is easier than replaying a large section to recover one missed safe.
For more puzzle solutions and current game coverage, browse Gamerlume’s Gaming guides and news section.
Check the Five Locks Before Moving On
The safest approach is simple: open the two early Care Center safes, clear the basement safe, then open both ARK safes before progressing into the endgame.
Keep a manual save, match each combination to your difficulty, and pay attention to the turn directions. Once all five code-locked safes are opened, you can move on without leaving one of Requiem’s easiest collectible objectives unfinished.
Frequently Asked Questions
No. The combinations are fixed for each difficulty setting. Casual and Standard share one set, while Insanity uses different combinations. You can enter a known solution without collecting its associated note first.
The Bar & Lounge is one of the earliest locked safes. Use Left 10, Right 80, Left 30 on Casual or Standard. On Insanity, use Right 20, Left 50, Right 30.
No. The Waiting Room safe is already open. It is separate from the five combination-locked safes covered in this guide.
The Sterilization Chamber and Monitor Control Room contain the two ARK combination safes. Both appear during Grace’s section of the facility.
Check your difficulty first, then check every turn direction. The dial sequence uses both a number and a left-or-right turn for each stop. Using Standard combinations on Insanity will not work.