
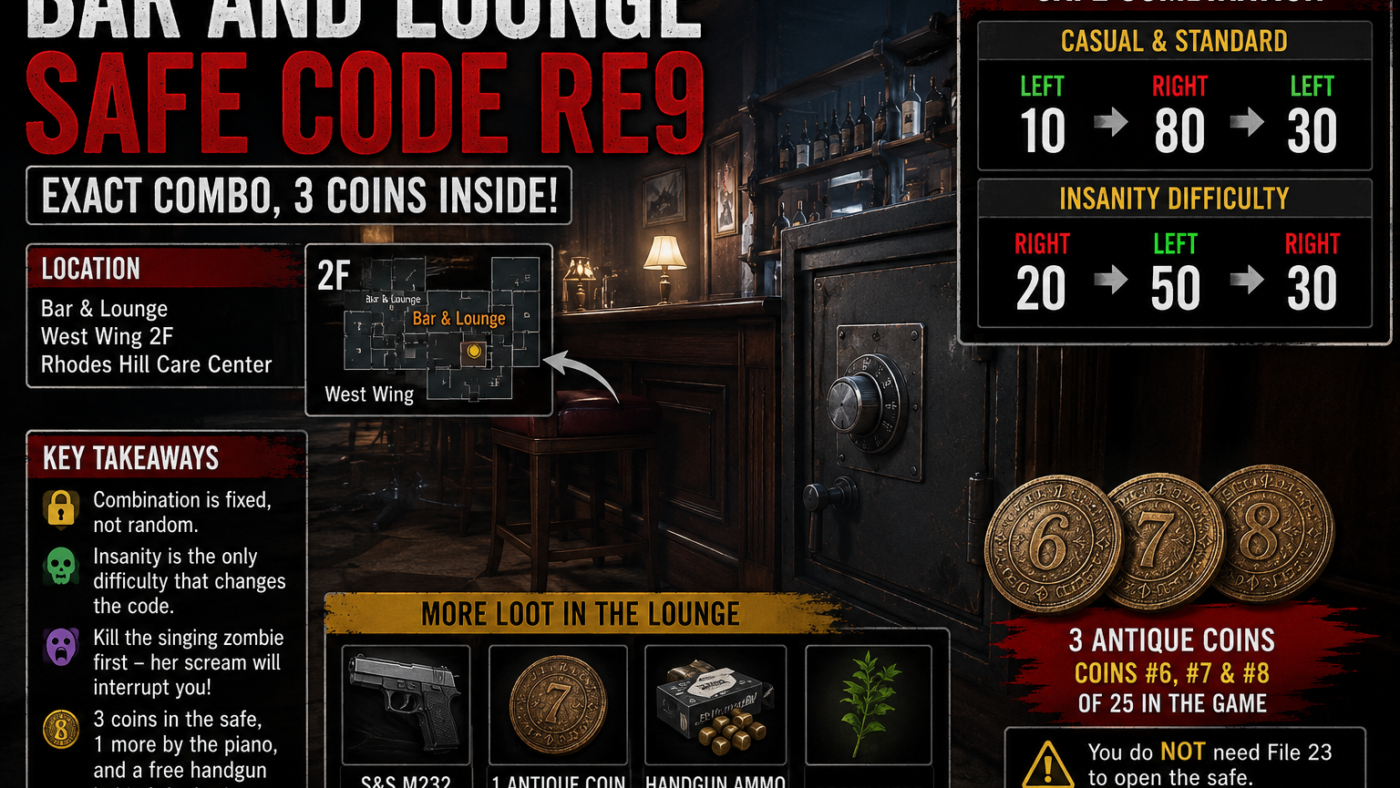
Left 10, Right 80, Left 30. That is the bar and lounge safe code RE9 that hands you on casual and standard difficulty, and it works the second you walk in. You never have to find the file that spells it out.
Your target sits behind the bar counter in the Bar and Lounge, on the second floor of the West Wing at Rhodes Hill Care Center. You reach it as Grace, early in the game. Spin the dial to 10, then 80, then 30, following the on-screen prompts. Inside are three antique coins for the parlor.
The Safe At a Glance
| Detail | What you need to know |
| Where | Bar & Lounge, West Wing 2F, Rhodes Hill Care Center |
| When | Grace’s Care Center section, early in the campaign |
| Combination (Casual and Standard) | Left 10, Right 80, Left 30 |
| Combination (Insanity) | Right 20, Left 50, Right 30 |
| Reward | 3 Antique Coins, numbers 6, 7, and 8 of the 25 in the game |
| Clue file | File 23, on an office desk, you pass much later. |
| Do you need the file? | No. The dial accepts the numbers at sight. |
| Trophy progress | One of five safes for No Safe is Safe. |
Key Takeaways
- The combination is fixed, not rolled fresh for each save file.
- Insanity is the one difficulty that swaps the numbers on you.
- Kill the singing zombie first. Her scream is what breaks most attempts.
- Three coins here, plus a loose one by the piano, plus a free handgun behind the counter.
Where Does the Safe Actually Sit?
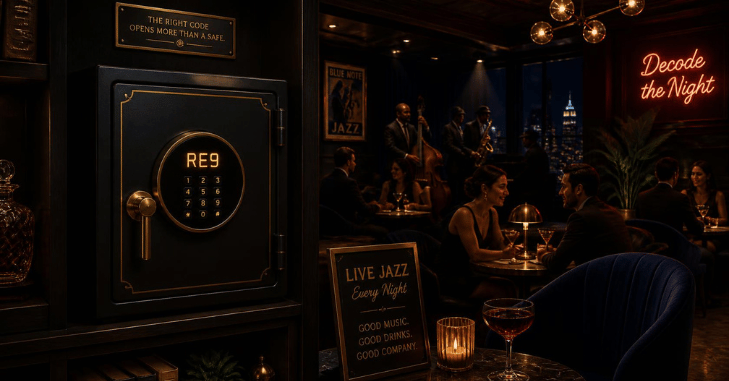
Rhodes Hill is a hospital built like a hotel, so the second floor of the West Wing has a proper lounge with a piano, a balcony, and a bar. Walk around the bar counter, and the safe is right there at floor level, half hidden by the fittings.
Bar and Lounge Safe Code RE9. A few guides place this room on the first floor, and one puts it in the East Wing. Both are wrong. If you are standing on the ground floor and cannot find a bar, you have not gone up yet.
Grace is the only character who visits it, which is why this safe and the other four all live inside her half of the story. We track that kind of detail across releases in our gaming news and guides hub, because Capcom rarely repeats a hospital layout twice.
Getting up there as Grace
Getting there is short work, but the game gates it behind one item and one unpleasant encounter.
- Pick up the West Wing keycard during the escape section.
- Cross the kitchen. The chef patrols here, and running past him is usually smarter than fighting.
- Follow the West Wing hallway to the staircase and go up.
- Read the wall map on the landing. It unlocks the floor plans, which saves you a lap.
- Turn into the Bar and Lounge. You will hear it before you see it.
Expect the lounge to look safe from the doorway. It is a wide, open room with sightlines to the balcony, and nothing lunges at you the moment you cross the threshold. That calm lasts about four seconds.
Clear the room before you touch the dial.
Three zombies wait in the lounge. Two are ordinary. The third is the one in the white dress, standing near the piano and singing, and she has a ranged scream that stuns you where you stand. That stun is the whole problem. Open the safe interface with her alive, and the scream yanks you out of it while the other two close in. Deal with all three, then go back to the counter.
There is real science behind why this feels harder under pressure. A 2016 study in Frontiers in Psychology ran 40 people through a stress task. The stressed group averaged 97.30 bpm against 78.35 bpm in the calm control group, and their planning and attention scores fell across almost every measure. Your thumb is not the thing failing you. Your attention is.
If your inputs keep overshooting on a stick, that is a hardware conversation rather than a skill one, and our equipment reviews and buying advice cover controllers with tighter deadzones.
How to Enter the Bar and Lounge Safe Code Re9 Without a Misdial
Three turns, in sequence. Left to 10. Right to 80. Left to 30.
Two rules that no guide seems to print:
- Finish all three turns before you press the confirm button. Press early, and the input clears itself.
- Land on a wrong number and the dial spins back to its default position. Nothing is lost except a few seconds, so start again.
Now the annoying part. Written guides disagree about which physical direction “left” means. Some describe the first turn as clockwise, others as counterclockwise. The game labels each turn on screen while you hold the dial, so trust that prompt and ignore the wording anyone else used.
Three Coins, and What They Buy
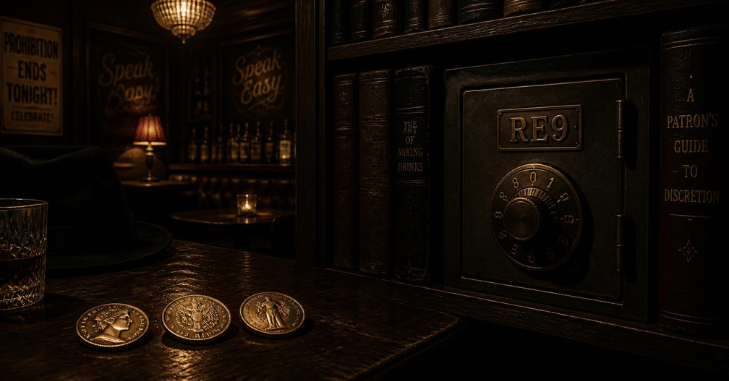
Inside sit three antique coins. They are coins 6, 7, and 8 of the 25 available on Casual and Normal. They matter more than that number suggests, because Capcom is stingy with resources here.
Coins are spent at the Parlor, hidden behind the unicorn door in the West Wing. You open it with the Red Jewel from the Unicorn Trinket Box in the Chairman’s Office.
| Parlor reward | Coins needed | What it does |
| Hip Pouch | 3 coins | Carry more items. |
| Stabilizer | 4 coins | Better gun handling and firepower |
| Steroids | 4 coins | Raises maximum health |
| Matsuoka Override Manual | 6 coins | Adds 50 units of blood collector capacity |
Seventeen coins buy the whole shelf on Normal, and 25 exist. You can miss eight and still walk away with everything, so one skipped safe is not fatal. On Insanity, the bill rises to 19, which leaves a much thinner margin.
Everything Else to Grab in the Lounge
Most write-ups name the safe and stop there, which sends people back for a second lap. Sweep the whole room while the zombies are down.
- An S&S M232 handgun, sitting behind the bar counter with nine rounds already loaded.
- A fourth antique coin by the piano, separate from the three locked in the safe.
- Handgun ammo out on the balcony, which plenty of players never step onto.
- A green herb, easy to miss in the low light.
Grace’s early loadout is thin enough that this one room changes how the next hour plays. Four coins and a second sidearm out of a single detour is a strong return this early. Capcom has leaned on that front-loaded pickup design for a while now, and we track it in PS5 gameplay guides and exclusives.
Where the Clue File Hides, and Why You Can Skip It
File 23 is called the Bar & Lounge Safe Code, and it turns up on an office desk well after you have already passed the safe. Guides put that office in different places: one says the room past the garage, another the West Wing 2F office, and another a custodian’s office behind a Level 1 wristband.
Insanity Changes the Numbers
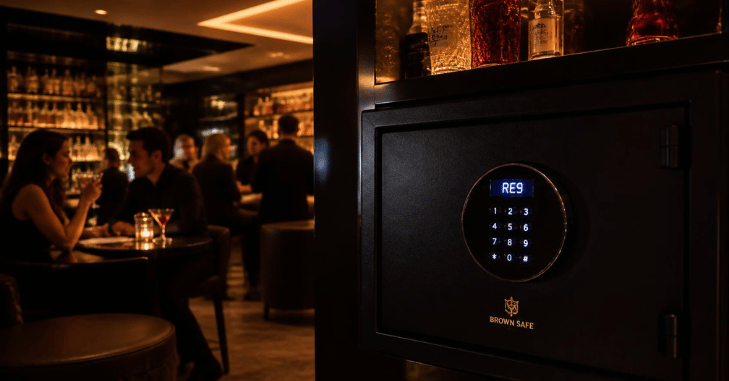
This is the detail most pages leave out. Casual, Standard, and the rest of the base difficulties share one fixed combination. Insanity does not. On Insanity, the sequence becomes Right 20, Left 50, and Right 30. Punch in your old notes from a normal run, and the dial will reset. Read the in-game file on that mode, or use the numbers above.
Every safe in the game behaves this way, so treat any code list you saved as difficulty-specific rather than universal. Screenshot the file when you find it on an Insanity run. Trusting a normal run memory here only burns time, and time is the one resource that mode keeps taking away from you.
Conclusion
The Bar and Lounge Safe Code RE9 is one of the easiest and most rewarding safes to unlock in Resident Evil Requiem. On Casual and Standard difficulties, the fixed combination Left 10, Right 80, and Left 30 grants three valuable Antique Coins without requiring you to find the clue file first. Alongside the coins, the room offers additional supplies, including a handgun, ammunition, and another collectible coin, making it one of the best early-game resource locations.
If you’re playing on Insanity, remember that the safe uses a different combination, so always check the correct difficulty before entering the code. Clearing the lounge, collecting every item, and opening this safe will put you in a much stronger position for the challenges that follow while also bringing you one step closer to the No Safe is Safe trophy.
FAQ
No. It is fixed. Two people on Standard difficulty enter the same three numbers, and the same is true across replays of the same save.
Yes. The room is not locked behind a later item, and the safe accepts the combination immediately. Clear the zombies first.
The dial spins back to its starting position. There is no penalty, no alarm, and no limit on attempts.
Five, all of them in Grace’s sections. Opening every one unlocks the No Safe is Safe trophy.
Three coins and the trophy. You can still buy every Parlor reward on Normal without them, though the margin gets tight on Insanity.
No. Each one is independent. Nothing about the Examination Room or the pre-opened Waiting Room safe gates—this dial so that you can crack it on your first visit to the lounge.