
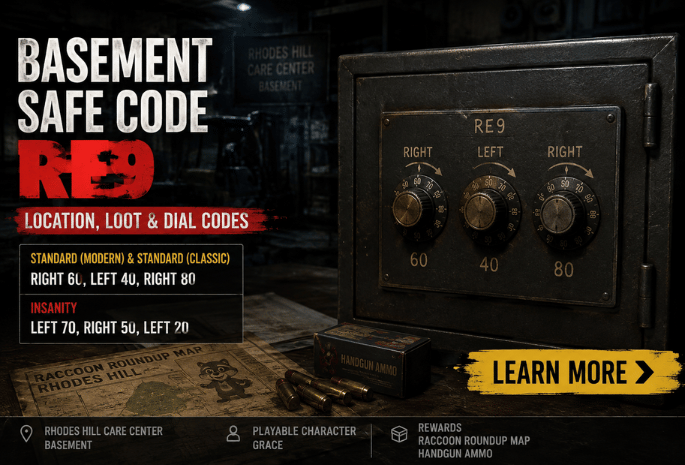
Turn the dial right to 60, left to 40, then right to 80. That is the basement safe code RE9 uses. Standard, and it never shuffles between playthroughs. Insanity is the one exception, and the room itself is easy to walk straight past.
| Detail about basement safe code RE9 | What you need to know |
| Area | Rhodes Hill Care Center, Basement |
| Playable character | Grace |
| Room | Side office off the electric forklift bay, west of the Workshop |
| Standard (Modern) and Standard (Classic) | Right 60, Left 40, Right 80 |
| Insanity | Left 70, Right 50, Left 20 |
| Contents | Raccoon Roundup Map (Rhodes Hill), Handgun Ammo |
| Code file | Basement Safe Code, found earlier by Leon on Care Center 3F |
| Missable | Yes. The basement seals behind Grace |
Key takeaways
- The combination is fixed, so no one gets a different set of numbers on the same difficulty.
- You can enter it before you read the file.
- Insanity is the only tier that changes the dials.
- The reward is a collectible map you cannot come back for.
The safe sits in the Care Center basement during Grace’s chapter, in the side office beside the forklift bay west of the Workshop. Enter right 60, left 40, right 80 on Standard, or left 70, right 50, left 20 on Insanity. Inside, you get the Raccoon Roundup Map for Rhodes Hill and a stack of handgun rounds.
Is the basement safe code RE9 randomized?
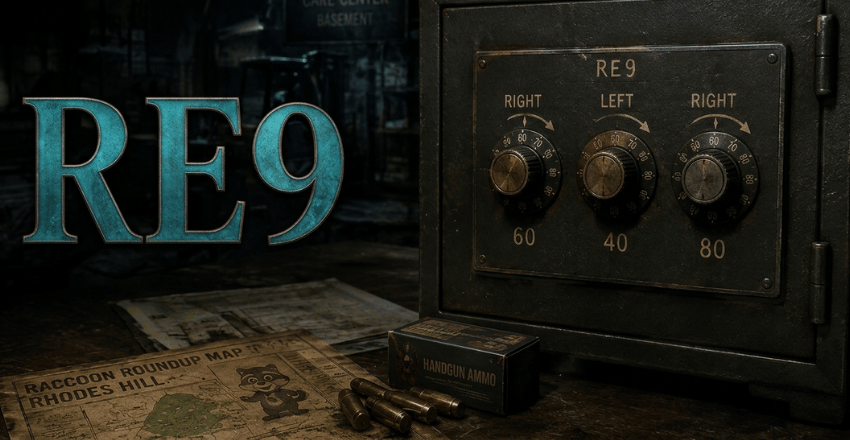
No. The basement safe code RE9 numbers never shuffle, and every player on the same difficulty sees the same three-number combination. What changes is the difficulty tier you selected at the title screen, with Standard and Insanity using different dial codes. For the full picture, read RE9 Safe Code.
Standard (Modern) and Standard (Classic) share one combination: right 60, left 40, right 80. Insanity uses a different one: left 70, right 50, left 20, and it also relocates several items and files. Treat a Standard walkthrough as unreliable as the moment you step up a tier.
One honest warning. Not every published guide agrees on the Insanity dials, and at least one large database lists a third set of numbers. Only the in-game file cannot be wrong, so read it before you commit.
Where the safe hides in the Care Center basement
Grace’s basement is a loop of grim service rooms: Security, Holding Cells, Workshop, Furnace, Processing. Nothing on the critical path takes you to it. It waits in a side office off the bay where the electric forklift is parked, on the west edge of the map.
Two doors lead in. One is the locked door beside the Furnace room, which wants a Joint Plug. Your second option is the ventilation shaft out of the Workshop, which opens once power reaches that wing.
Guides cannot agree on what to call the room. Some name it Construction Storage, some the Inspection Room, some simply the furnace side office. They all mean the same wall safe on the same table, so ignore the label and look for the forklift. We keep room names matched to the in-game map across our gaming walkthroughs and release news.
Getting down there as Grace
You do not choose to go to the basement. Requiem drops Grace into the service tunnel, and the elevator behind her stays dead until the finale.
- Clear out the save room near the elevator and dump anything heavy you will not fire.
- Follow the corridor toward the red light, then pull the first Joint Plug from the relay panel behind the Holding Cells.
- Crouch into a corner away from the light when the Girl appears and wait her out.
- Head north and slot that plug into the door beside the Furnace room.
- Put down the zombie inside, walk through to the side office, and the safe is on the table in front of you.
Do it on the way in. Backtracking through this basement later is a fight, not a stroll. Your other two Joint Plugs come afterward. One sits beyond the industrial fan near the forklift key, and the last one turns up in Processing after you drain the pool.
A Square Socket Wrench waits in the Boiler Room, and it opens the electric box that lights the far half of the floor. Grab that wrench before you head anywhere dark.
Turning the dials without resetting the lock
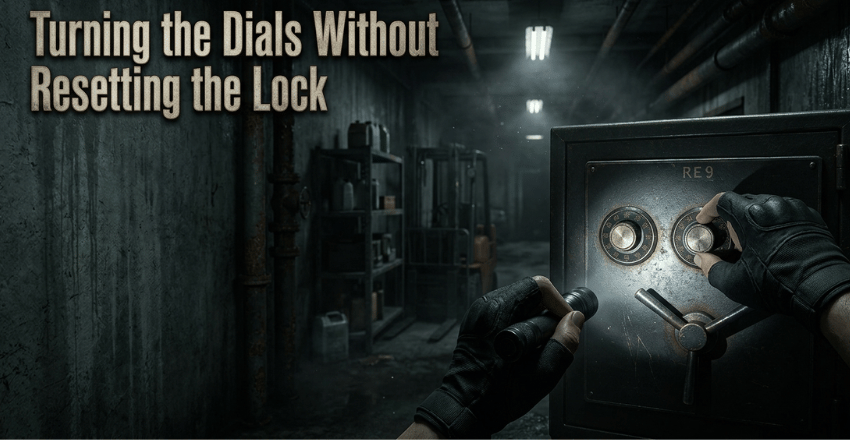
Requiem’s dials punish impatience. Right means counterclockwise, left means clockwise, and the handle only responds after the third number lands. Pull early and the whole thing snaps back to zero.
Dial markings are also hard to read down here, because the basement runs dark by design. Crank your display brightness before this chapter rather than during it. Our equipment reviews and buying advice cover the displays and headsets that make dark horror scenes readable.
The file that spells the combination out
Here is the strange part. Leon finds the note, and Grace opens the lock. Play the Care Center as Leon and climb to the third floor. In the Attic Stairway, a warped closet sits halfway along the passage. Pry it open with the hatchet and take the document titled Basement Safe Code.
The memo reads like a security manager covering himself. He writes that he put the discussed item in the safe and moved it somewhere discreet in the basement, away from wandering eyes. Nothing in Leon’s chapter hints that the payoff belongs to someone else, hours later.
You do not need the file. Its lock accepts the combination either way, which is why so many players open the safe first and read the memo afterward.
What the safe actually holds
Two things, and one matters far more than the other.
- Raccoon Roundup Map (Rhodes Hill): marks every Mr. Raccoon memorial you have not yet grabbed around the Care Center.
- Handgun Ammo: Ten rounds on Standard, though a couple of guides count eight.
That map is the real prize. Hunting those statues blind means sweeping rooms you already cleared, with a stalker in them. Clearing every locked box in the game also feeds the No Safe is Safe trophy, and our PS5 trophy and release coverage track the rest of that list.
What can kill you while you stand at the dials?
The Girl hunts Grace across the whole basement. She keeps out of lit rooms, so every generator and Joint Plug you power up creates a pocket where she will not follow. That light mechanic is the single most useful thing to understand down here. Never open a safe in an unlit room. Its animation locks you in place, and she does not knock.
Corpses are the second problem. Plenty of them reanimate behind you while your hands are on the dial, and a few of these enemies only look dead. Further along, the Processing chamber feeds a conveyor into an industrial grinder, which is as unpleasant as it sounds and can be used on the crowd.
Then comes the escape. After Grace frees Emily, two quick-time prompts stand between the pair and the elevator, and fumbling either one is game over.
Why this is the easiest safe in the game to miss
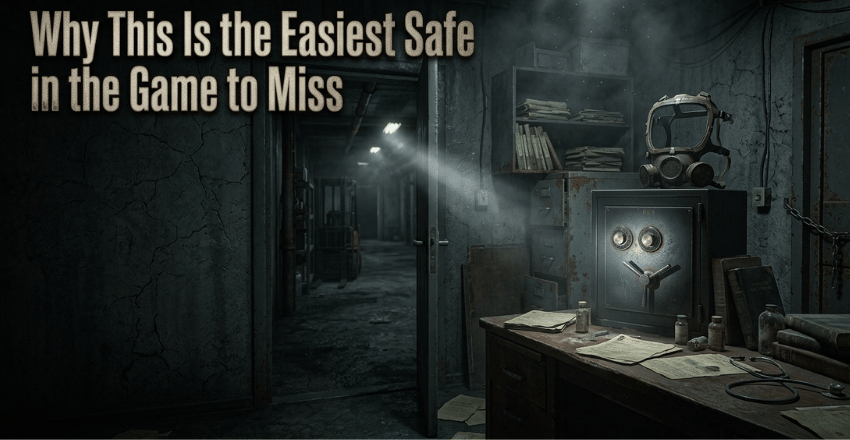
You cannot revisit it. Once Grace leaves the basement, the area seals, so a skipped combination becomes a missable collectible for the rest of that save.
That is a bigger loss than it sounds. People in the United States averaged 34 minutes a day on games and leisure computer use in 2024, according to the Bureau of Labor Statistics American Time Use Survey. At half an hour a night, hunting statues blind across a whole facility burns a week of evenings.
Frequently asked questions
Right 60, left 40, right 80. It works on both Standard (Modern) and Standard (Classic).
No. Dials accept the numbers whether you have read the file, so you can crack the safe the moment you reach the room.
Nothing bad. Your dial resets and you try again, with no alarm and no penalty.
No. It follows the difficulty you selected, not how many runs you have finished.
No, only this one. Everything else locked in the basement opens with a Joint Plug, the forklift key, or the Square Socket Wrench, so nothing else needs a combination.