
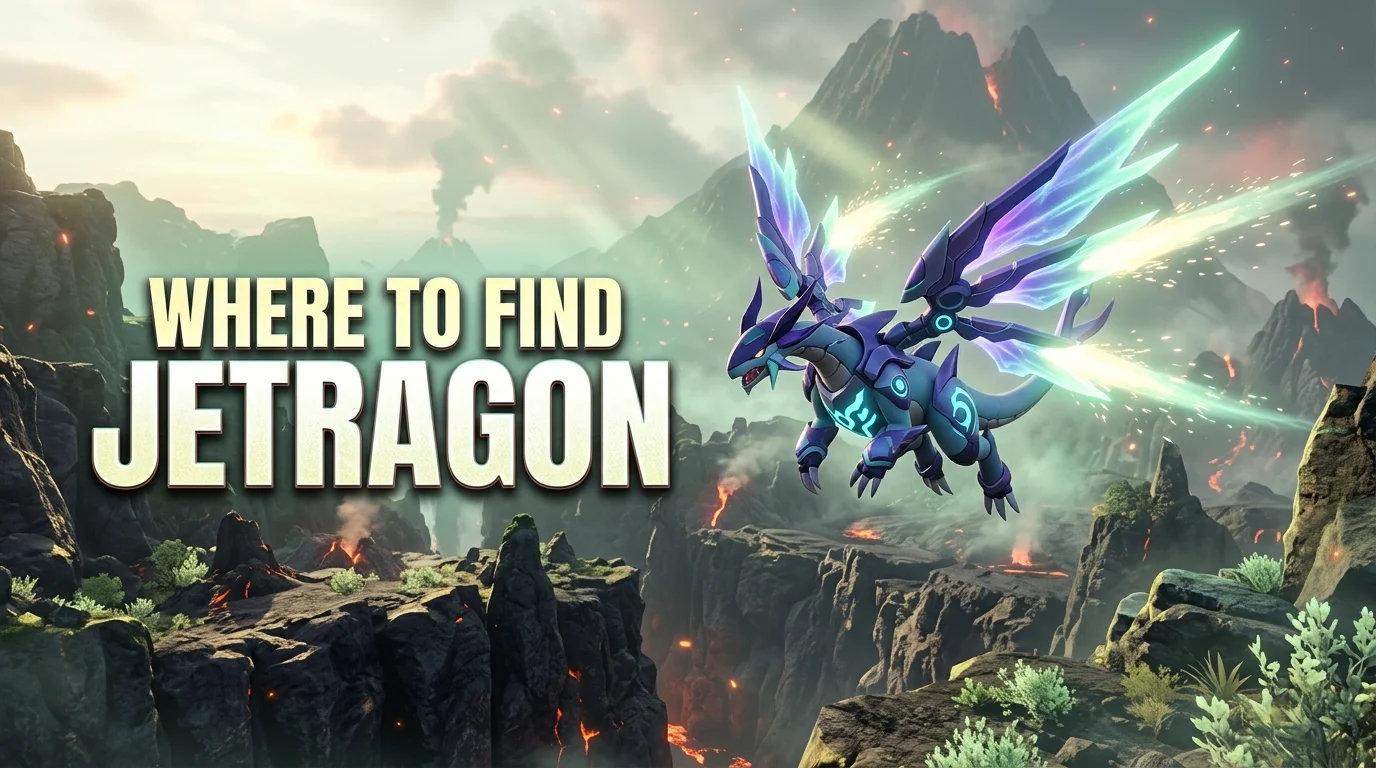
If you searched where to find Jetragon, avoid the old Mount Obsidian guides. Palworld 1.0 moved this legendary Alpha to the Sunreach sky islands. The current encounter sits near coordinates -553, -1332 as a level 70 field boss.
Returning players can easily waste time at the former volcanic location. That spot was part of the game’s Early Access version. Your destination is now Sunreach, and reaching the region requires late-game progression.
Quick answer: Jetragon is a level 70 Alpha boss in Sunreach, near coordinates -553, -1332. Reach the sky-island region through late-game progression, then travel toward the marked coordinates. Bring a strong Ice-type Pal, high-tier capture spheres, healing supplies, and a flying mount for the final approach.
| Detail | Current information |
|---|---|
| Location | Sunreach sky islands |
| Coordinates | About -553, -1332 |
| Encounter type | Fixed Alpha field boss |
| Level | 70 |
| Element | Dragon |
| Main weakness | Ice |
| Old location | Mount Obsidian |
| Best preparation | Ice damage, strong armor, high-tier spheres |
| Time restriction | No specific time requirement reported |
Key Takeaways
- The old Mount Obsidian location is outdated after Palworld 1.0.
- The current boss appears in Sunreach around -553, -1332.
- You need access to the late-game sky-island region before you can reach the encounter.
- Ice attacks are useful because Dragon-type enemies are vulnerable to Ice.
- Lower the boss carefully before attempting repeated captures.
- Bring more capture spheres than you think you’ll need.
Where to Find Jetragon in Palworld 1.0
The current spawn lies in the Sunreach region added with Palworld 1.0. Look for the Alpha around -553, -1332, near the elevated islands around Dragonmark Peak. Current game-data references and updated guides place the encounter in this area.
This location replaces the familiar Mount Obsidian encounter from Early Access. Older guides may still direct you toward coordinates near -789, -321. Those instructions can be accurate for older builds but not the present 1.0-era route.
Pocketpair introduced Sunreach when Palworld left Early Access in July 2026. The official release announcement describes Sunreach as a new floating island region. Later patches also changed technology associated with the legendary dragon.
What You Need Before Going to Sunreach
Prepare for an endgame fight, not a normal Pal hunt. The target is a high-level fixed Alpha with strong attacks. Arriving without the right gear can turn a quick capture attempt into repeated recovery trips.
Bring a developed Ice-type combat Pal for the elemental advantage. Carry strong armor, reliable weapons, healing items, and your best available capture spheres. A capable flying mount also makes it much easier to move between separated sky islands.
Inventory space matters during long preparation runs. Repair your gear before leaving your base, and restock ammunition if your weapon needs it. Also leave room for anything you collect during the trip.
PC players adjusting their setup can also check GamerLume’s best controller for PC guide. The site’s broader gaming guides section covers more games and practical walkthroughs. PlayStation players can browse the PS5 games section for related console coverage.
How to Reach the Current Spawn
The hardest part is often reaching Sunreach itself. You cannot treat these coordinates like an ordinary mainland map marker. The region belongs to Palworld’s later progression and sits above the normal island network.
Follow these steps once your save has progressed far enough:
- Unlock access to Sunreach. Advance through the required late-game progression and open the route into the sky-island region.
- Enter the Sunreach area. Use the available portal or travel route once you unlock access to the region.
- Activate nearby fast travel points. Doing this makes repeat capture attempts much faster after a failed fight.
- Travel toward -553, -1332. Use the coordinate display instead of relying only on landmarks.
- Approach the separate island carefully. Stay mounted until you identify the boss area and choose a safe landing point.
- Prepare before triggering combat. Heal your party, equip the right Pal, and place capture spheres in an easy-to-control slot.
Coordinates are usually more dependable than screenshots from older guides. Palworld’s map changed substantially with version 1.0. A recognizable volcanic screenshot could therefore lead you to the wrong region.
Why the Mount Obsidian Location No Longer Works
Many high-ranking search results were originally written during Palworld’s Early Access period. At that time, the famous dragon appeared around the western volcanic area. The full 1.0 release changed its placement along with broader world changes.
That creates an unusual search problem for returning players. An older article can look polished but point to a location that no longer works. Always check whether a guide mentions Sunreach or the July 2026 full release.
The current location is supported by several recently updated sources. Game-data references also describe a fixed level 70 Alpha encounter.
How to Prepare for the Level 70 Fight
Start with elemental advantage to shorten the dangerous part of the battle. Dragon is weak to Ice, so a strong Ice Pal is the sensible first choice. Raw level still matters, so avoid relying on type advantage alone.
Stay mobile when the boss begins using larger attacks. Open ground gives you more room to dodge projectiles and reposition your Pal. Fighting beside cliffs or awkward terrain can make recovery harder.
Watch the health bar closely when you intend to capture rather than defeat. Recall an attacking Pal before uncontrolled damage finishes the encounter. Then create distance and begin your capture attempts.
High-tier spheres reduce frustration against endgame targets. Carry several because one attempt may not be enough. Entering the fight with only one or two throws creates unnecessary risk.
A Simple Capture Strategy
Begin the encounter from a position with enough room to retreat. Send out your Ice attacker and focus on controlled damage. Avoid standing beside your Pal because incoming area attacks can hit both targets.
Reduce the Alpha’s health without pushing the final phase too aggressively. Once its health becomes low, recall your combat Pal. You can then manage the final damage yourself and prevent an accidental knockout.
Throw your strongest spheres when the capture chance becomes reasonable. Reposition between attempts rather than repeatedly throwing from an exposed position. Survival matters more than forcing another immediate throw.
If the attempt fails completely, use the nearest unlocked travel point on your return. That saves significant travel time compared with repeating the entire journey. Treat the first visit as both a capture attempt and route setup.
Is the Trip Worth Making?
The encounter remains valuable because this Pal combines strong combat potential with mounted utility. Pocketpair even increased its maximum stamina in the official 1.0 changes. Later adjustments lowered some related technology requirements from level 79 to 70.
That makes the capture especially attractive for players moving through endgame content. The effort includes regional progression, travel, preparation, and the boss fight itself. Those requirements explain why new saves cannot rush directly to the location.
Players who enjoy collecting rare endgame creatures also gain another long-term objective. Preparing a specific counter team gives the fight more structure than ordinary exploration. It is best treated as a planned boss run rather than casual hunting.
Common Reasons You Cannot Find the Boss
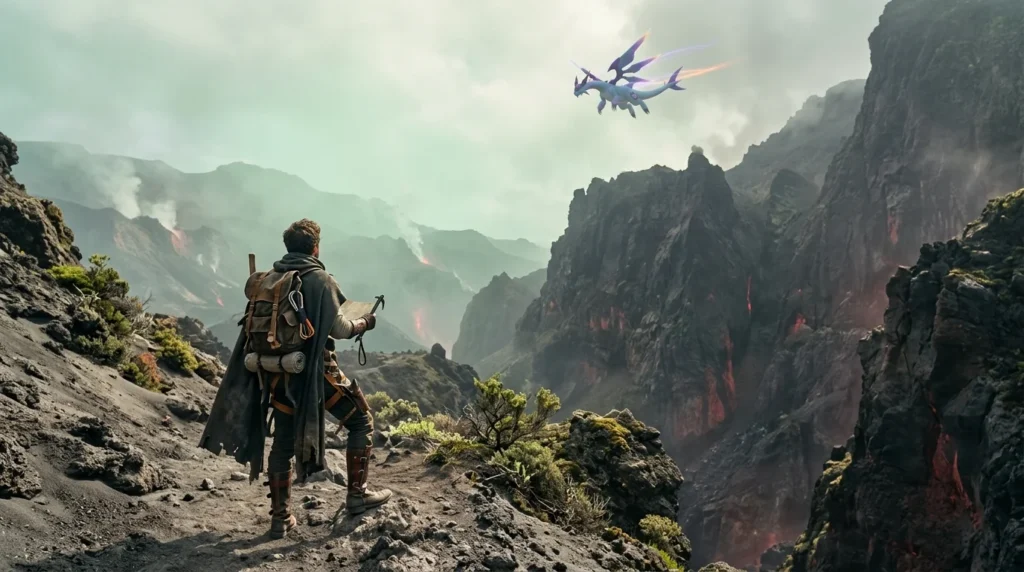
The most common problem is following an outdated guide. Check the coordinates and confirm the article refers to Sunreach. A Mount Obsidian recommendation usually means the guide predates the 1.0 relocation.
Progression can create another obstacle. Reaching the coordinate area requires access to the sky islands. Entering coordinates on the main Palpagos map will not put you next to the encounter.
Your game version should also be considered after future updates. Pocketpair continues releasing balance changes and bug fixes. Check the official Palworld announcements if a later patch changes the region.
Frequently Asked Questions
Where to find Jetragon after the Palworld 1.0 update?
Go to the Sunreach sky islands and travel toward -553, -1332. The encounter appears there as a fixed level 70 Alpha. Do not use the old Mount Obsidian route from Early Access guides.
Is the boss still at Mount Obsidian?
No, current 1.0-era information places the encounter in Sunreach instead. Mount Obsidian was associated with its earlier location. Guides using that destination are describing an older game version.
What level is the current Alpha?
Current game-data sources list the fixed encounter at level 70. That makes it an endgame challenge rather than an early collection target. Prepare your party and equipment before making the trip.
What type is it weak against?
The legendary boss is a Dragon type, so Ice attacks provide the useful elemental matchup. Bring a developed Ice Pal rather than relying entirely on neutral damage. Strong equipment still matters because the level difference can punish mistakes.
Can you breed one without catching it first?
Current breeding databases list the same species for both parents to produce another one. That means breeding isn’t an easy first acquisition route. Capturing the Alpha remains the practical starting point for most players.
Why do older guides show different coordinates?
Those articles were usually created before the July 2026 full release. Palworld 1.0 added Sunreach and changed parts of the world. Search results can therefore mix accurate current information with obsolete Early Access instructions.
Final Route Checklist
Check your game version before leaving your base. Make sure Sunreach is accessible, and your nearby fast travel points are active. Then mark -553, -1332 and prepare for a level 70 encounter.
Bring Ice damage, durable equipment, healing supplies, and several strong capture spheres. Approach with a flying mount and manage the boss’s final health carefully. These steps reduce the chance of losing a good capture opportunity.
For more walkthroughs and game coverage, continue through GamerLume’s latest gaming guides. You will find more game walkthroughs there.